A beginner’s guide to Nerikomi
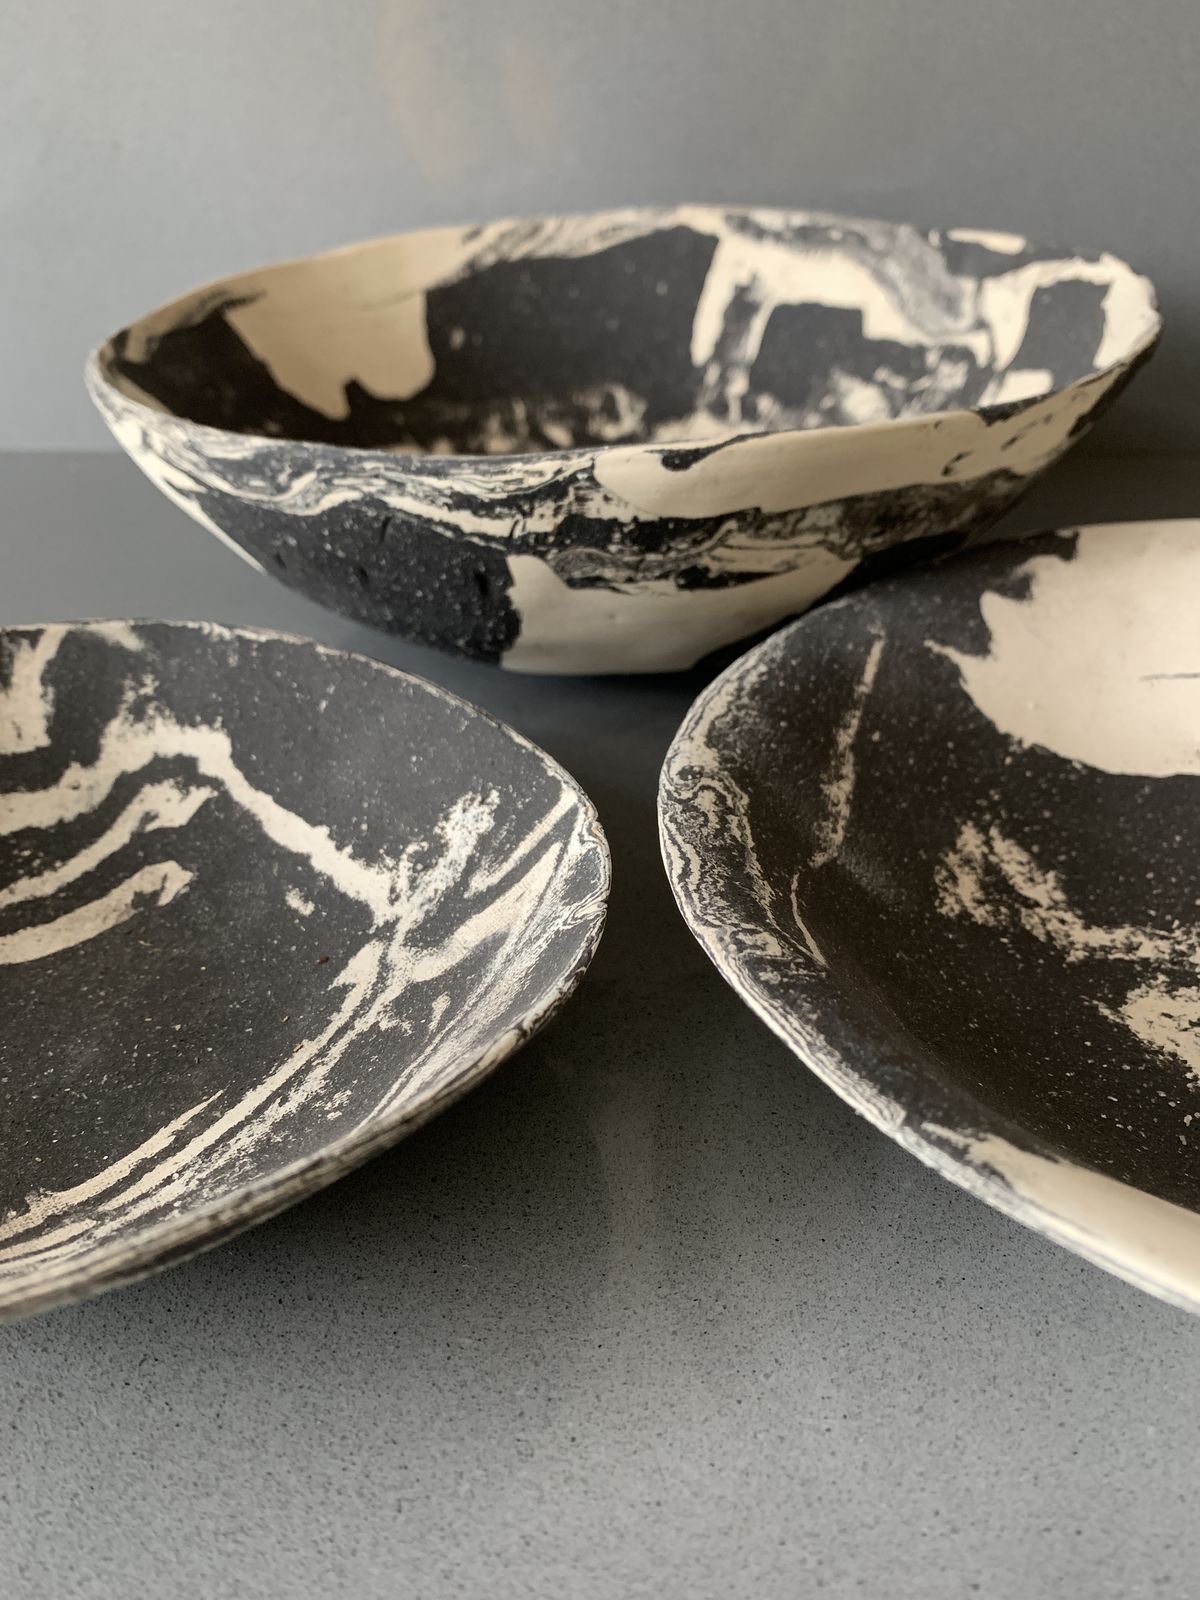
Nerikomi is one of the most visually striking ceramic techniques, known for its intricate patterns and bold use of coloured clay. Rooted in Japanese ceramic traditions, nerikomi involves constructing designs within the clay body itself, rather than applying decoration to the surface, so that the pattern runs all the way through the form.
While the results can appear complex, nerikomi is fundamentally about careful preparation and forward planning. It is a slow, methodical process that rewards patience and attention to detail, making it an ideal technique for ceramicists looking to deepen their material understanding and push their skills with a new challenge in their ceramics practice.
This guide walks through the nerikomi process step by step, from preparing coloured clays to forming and firing finished pieces.
What is nerikomi?
Neri is a word meaning “to mix” in Japanese, and komi means “to press”. So, nerikomi is a handbuilding technique.
This technique uses differently coloured clays arranged into patterned blocks, which are sliced into thin sections used to construct forms such as bowls, tiles, vases, or sculptural objects.
Unlike surface decoration techniques such as slip trailing or glazing, nerikomi patterns are integral to the clay body. This means the design remains consistent throughout the piece and is not dependent on surface treatments or firing effects.
Because of this, nerikomi demands precision at every stage. There are no shortcuts: proper clay preparation, moisture control, compression, and drying are all critical to success.
Materials and tools for nerikomi
Here is what you’ll need for the nerikomi process:
- A smooth, fine clay body (porcelain or white stoneware works best)
- Ceramic stains or oxides
- Digital scales for accurate measuring
- Wedging surface
- Rolling pin or slab roller
- Sharp wire or blade
- Ribs or soft tools for compression
- Plastic sheeting for resting clay
Step 1: Prepare and colour your clay
Start with a single clay body and divide it into portions for each colour you plan to use. Using the same base clay for all colours helps ensure similar shrinkage rates during drying and firing.
Weigh your clay portions and stains carefully. Stains are usually added at around 5–10% by weight, depending on the intensity of colour you want to achieve. Mixing the clay body and colourants in dry powder form provides the most consistent and accurate results, before mixing with water and leaving it on a plaster bat before wedging.
Once it’s at the right stage, wedge each clay until smooth and free of air bubbles. At this stage, moisture content is crucial: all coloured clays should feel the same softness. If one is drier or wetter than the others, allow time for resting and equalisation.
Step 2: Design your pattern
Nerikomi is best approached with a plan. Before touching the clay, sketch your intended pattern. Think about how the design will repeat once the block is sliced, and how it will distort when applied to a curved form.
Simple geometric patterns such as stripes, chevrons or grids are ideal for beginners. Complex imagery is possible but requires more experience and careful construction.
Remember that the pattern is built from the inside out – it will only be fully revealed when you slice it.
Step 3: Construct your clay block
Using slabs, coils, or cut shapes, assemble your coloured clays into the planned pattern, aligning edges carefully to avoid gaps.
Once assembled, gently compress the block using a rolling pin. This step is essential: it bonds the clays together and removes air pockets that could cause cracking later. Compression should be firm but controlled, as excessive pressure can distort the design.
After compressing, square up the block and wrap it loosely in plastic. Allow it to rest until it reaches a leather-hard consistency suitable for slicing.
Step 4: Slice your pattern
When the block is firm enough to hold its shape but not fully dry, slice it into thin sections using a sharp wire. Each slice should reveal the internal pattern repeating consistently across the block.
Handle slices carefully and cover them in plastic as soon as you slice them to prevent uneven drying. These thin slices are fragile and prone to cracking if bent or allowed to dry too quickly.
These slices are the decorative building units for your final piece.
Step 5: Construct your piece
Nerikomi slices can be used in several ways:
- Joined edge-to-edge to form slabs
- Wrapped around moulds
- Pressed into hump or slump moulds
- Layered to build thicker walls
When joining slices, score and slip carefully, and compress the seams thoroughly. Because the decoration runs through the clay, trimming and refining the form becomes part of the design process rather than something to avoid.
Work slowly and keep moisture levels consistent. Nerikomi pieces often involve multiple joins, which increases the risk of cracking if rushed.
Step 6: Dry your piece
Dry nerikomi pieces slowly and evenly, ideally under plastic for several days or weeks . Patience is a virtue when it comes to this technique, as uneven drying is one of the most common causes of failure.
Bisque fire as normal for your clay body. Many nerikomi pieces are left unglazed, or finished with a very thin clear glaze, to preserve the crispness of the pattern. If you choose a thick or opaque glaze it might obscure the pattern.
Test firing is always recommended to achieve the result you want, as stains can change colour at different temperatures.
Common nerikomi challenges
- Colours bleeding: Usually caused by clay that is too wet or over-compressed.
- Cracking at joins: Indicates uneven moisture or insufficient compression.
- Distorted patterns: Can happen during forming, so plan for some movement, especially on curved forms.
Nerikomi is a technique where mistakes are part of the learning process. Keeping detailed notes and test pieces will help you to apply what you’ve learned next time.
Why learn nerikomi?
Nerikomi encourages a slower, more intentional approach to making. Maybe you’re trying out new techniques, or you want to set yourself a challenge. This process will sharpen your skills and deepen your understanding of clay preparation and construction.
At Corrie Bain International Ceramics School, students are encouraged to explore techniques like nerikomi as a way of expanding both technical ability and creative thinking. Whether used occasionally or integrated into a wider practice, nerikomi offers ceramicists a powerful way to explore pattern, colour, and form as a single, unified process.
For those willing to invest the time, the rewards are both challenging and deeply satisfying.